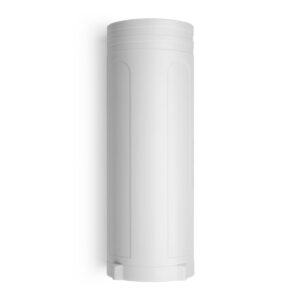
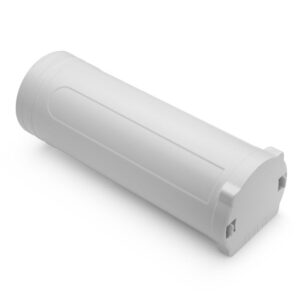
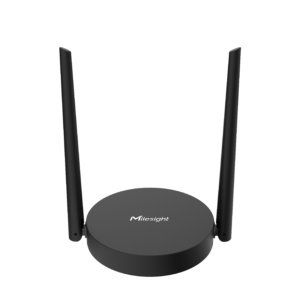
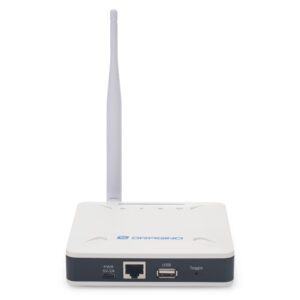
What you will find in the box:
DLOS8N Outdoor LoRaWAN Gateway complete with:
- Plastic gateway pole mounting bracket
- Metal cable ties x2
- Plastic cable ties x2
- Fiberglass antenna
- Antenna connection cable
- Pole mounting kit for fiberglass antenna
- Power supply
You will also need:
A Phillips head screwdriver
An adjustable wrench
Mounting the gateway:
The DLOS8N gateway is provided with a pole mounting bracket (pictured below).

Using the screws provided attach the plastic pole mounting bracket to the gateway as shown below:
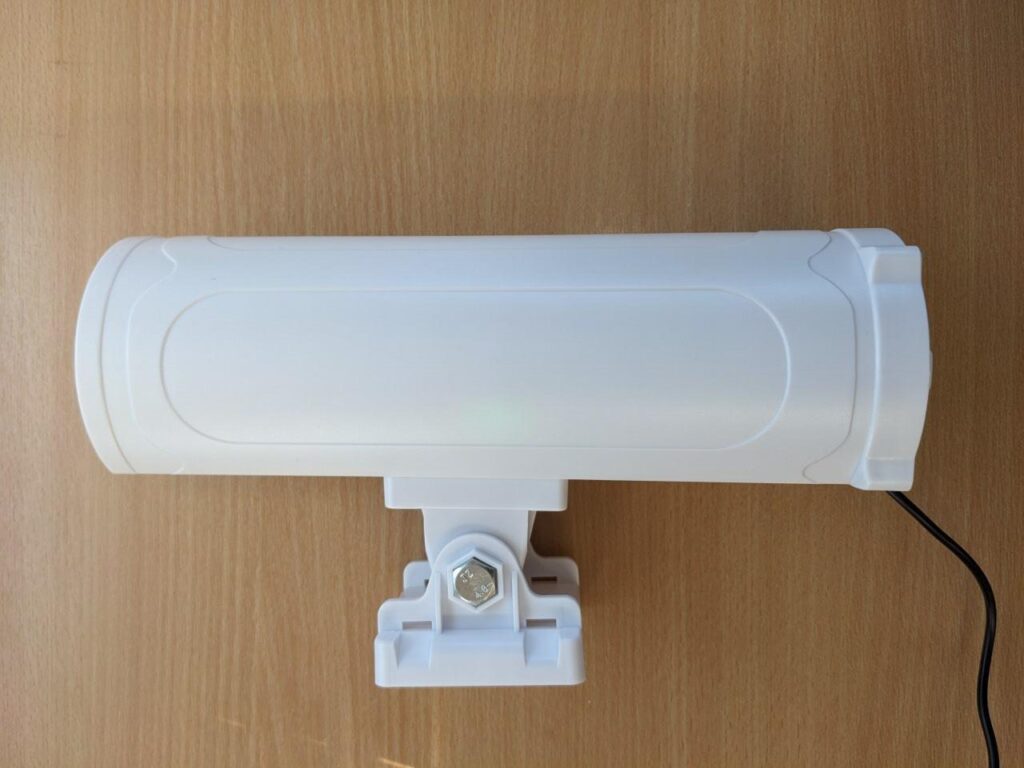
To mount the bracket onto the pole, place the two metal zip ties through the allocated holes (as shown below) and tighten around the pole. It is recommended that a second set of plastic cable ties is used to ensure the stability of the mount, these have also been provided to you.

Mounting the antenna:
The DLOS8N gateway is provided with a fiberglass antenna and pole mounting kit (pictured below).
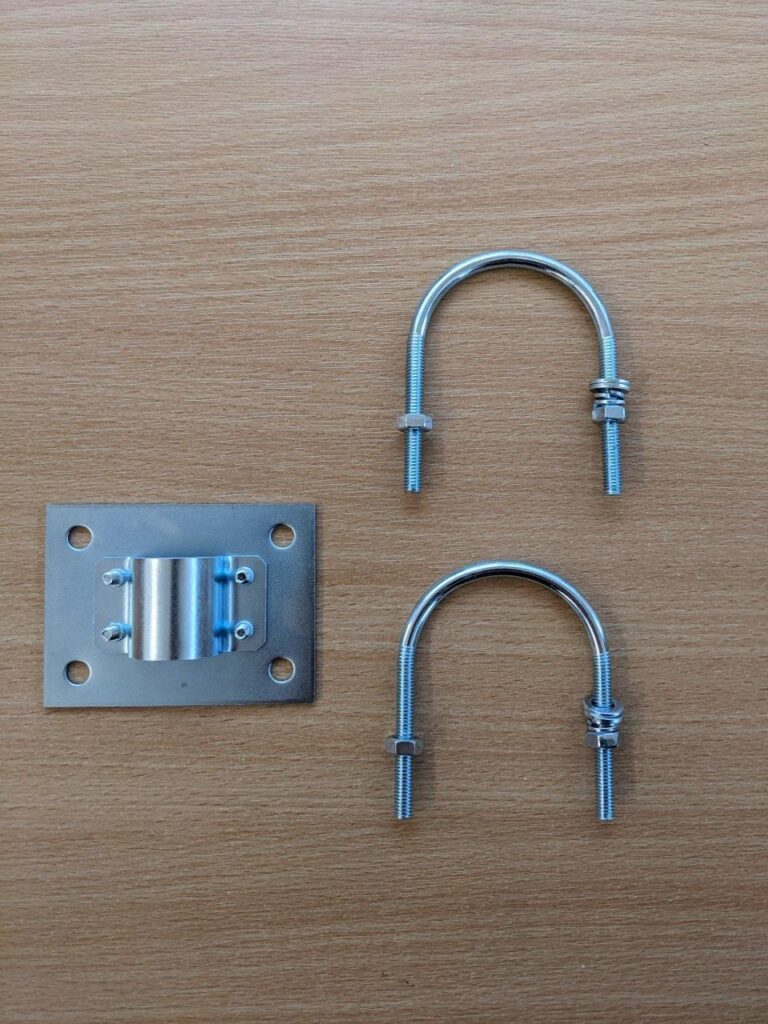
Loosen the four screws on the antenna mounting plate to allow the antenna to be inserted into the bracket as shown below:
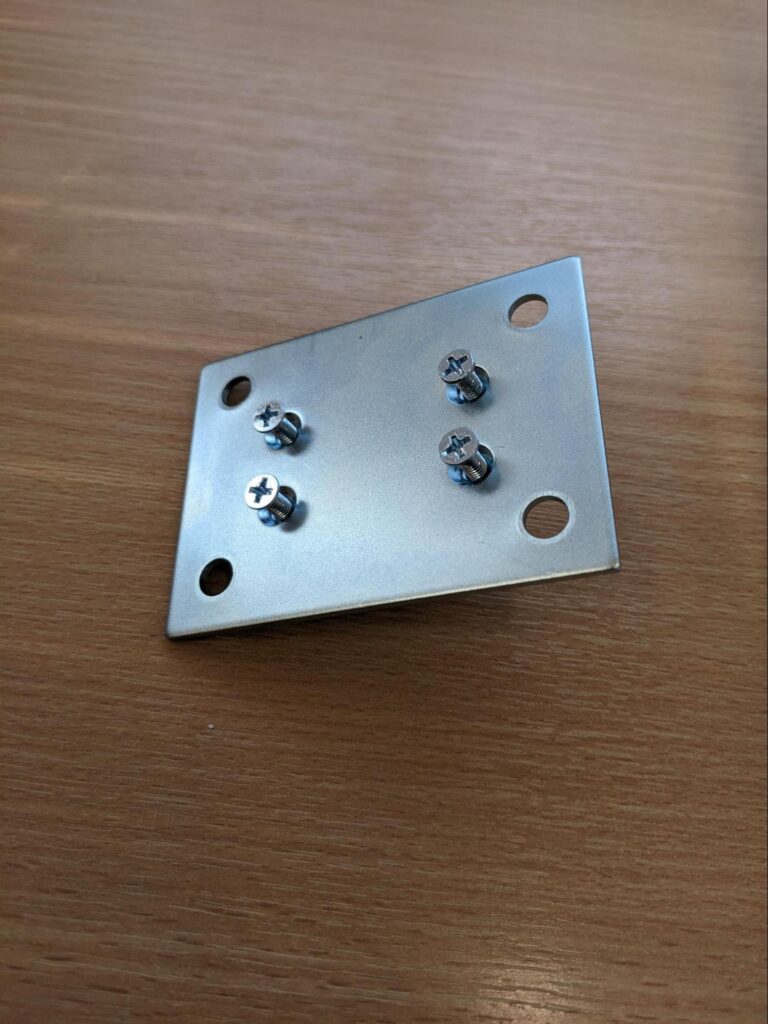
Tighten the screws to hold the antenna securely in place. Do not overtighten the screws as this may damage the antenna.

Using the pole mount bracket provided secure the mounting plate to the pole using the nuts & washers provided.
Using the antenna cable provided, attach the larger end to the base of the antenna, securing tightly.

Then screw the other end into the antenna terminal on the base of the gateway, pictured below:

Powering the gateway:
Using the power supply provided:
Using the power supply provided, plug the AC adapter end into the port on the bottom of the DLOS8N gateway.

Replace the weatherproof plastic cover.
Plug the other end of the power supply into your mains supply or an extension lead (If outside make sure this is housed in a waterproof enclosure).
If the gateway is properly powered it will display a green/red (depending on connection status) LED on the base of the enclosure.
Via POE (Power over Ethernet):
You will also need:
- A POE Injector
- An X meter long Network Cable (X- correct length for your project)
Using the network cable, plug one end into the ethernet port on the bottom of the DLOS8N gateway.

Replace the weatherproof plastic cover.
Plug the other end of the ethernet cable into LAN in port of your POE injector.
Make sure the POE injector is powered correctly according the devices instructions.
If the gateway is properly powered it will display a green/red (depending on connection status) LED on the base of the enclosure.